
Table of Contents
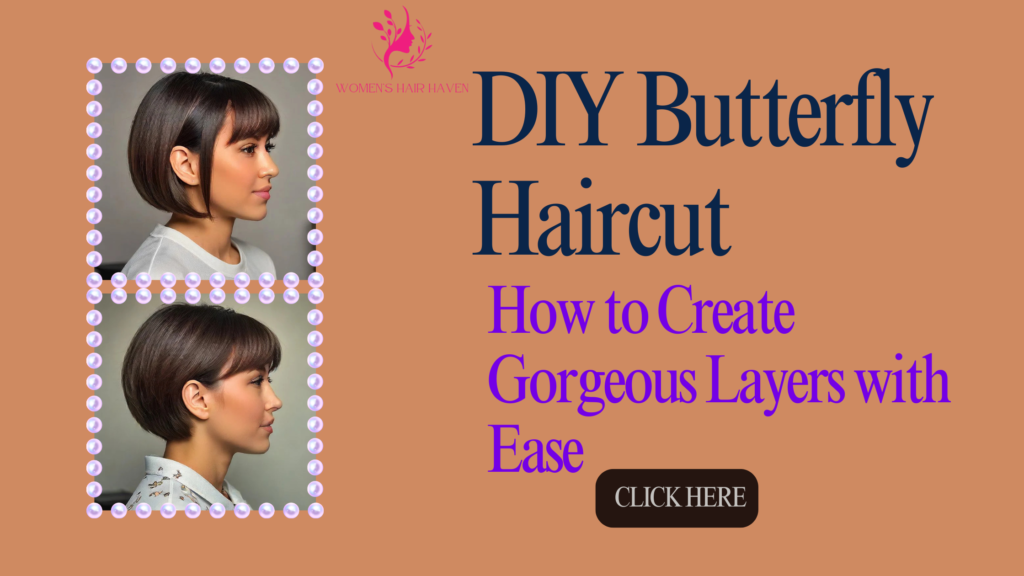
Introduction To DIY Butterfly Haircut
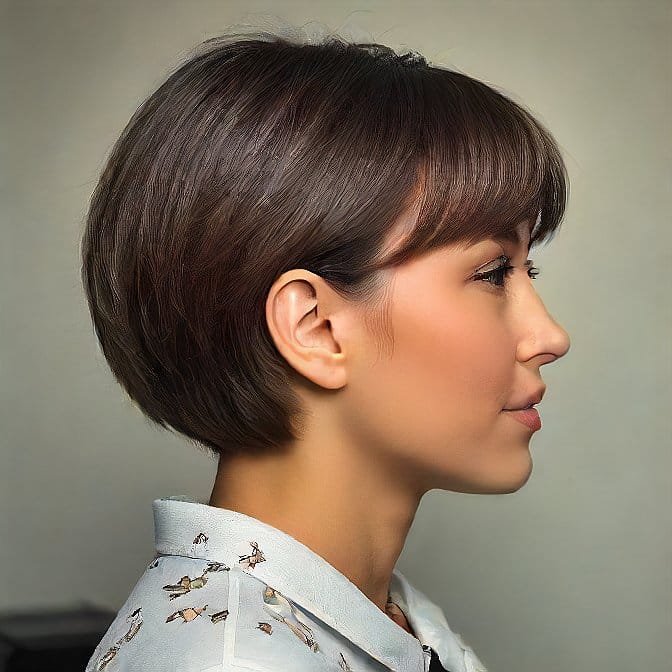
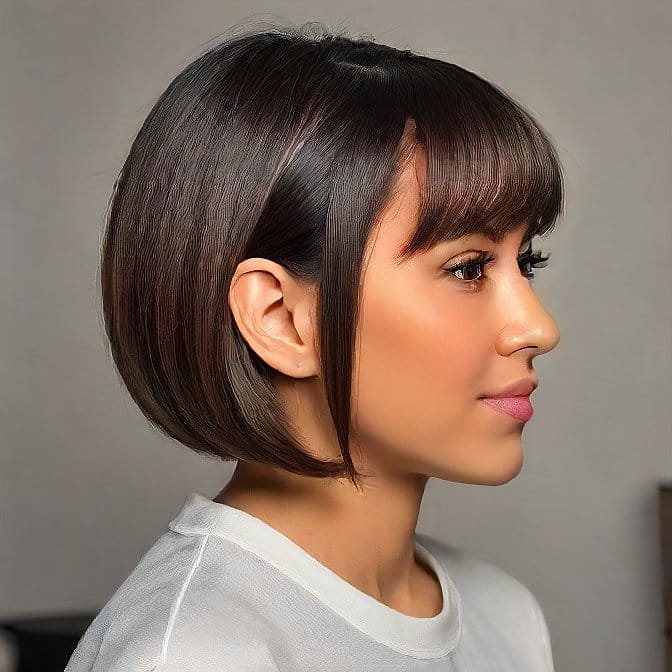
The Butterfly cut is a short women’s haircut that produces wing-like layers at the sides and back of the head. It is very ideal for applying some volume and formation to delicate or slender hair. Although people can get a butterfly haircut by visiting professional salons, doing it at home can lead to savings on expensive hairstyling sessions, but it is advisable to possess basic skills in cutting hair using scissors and hair clippers.
Tools and Preparation for DIY Butterfly Haircut
Before you begin cutting your own DIY Butterfly Haircut, gather the proper tools and prepare your workspace:
- Hair cutting shears: Use a good, sharp scissor appropriate only for hair trimming and not for other purposes such as embroidery. This haircut cannot be done with normal scissors, do not try it!
- Clippers: Clippers enable you to blend down and out the nape region and sides. Grip: Your clippers should not be clunky and heavy, so, choose cordless ones.
- Comb: It is important to have a detangling comb with wide teeth and a rat tail comb for making parts.
- Hair clips: Section hair with duckbill clips.
- Blow dryer: The hair should be dried before cutting by blowing it straight and smooth.
- Mirror: Place one mirror on the back seat in front of the other where you can easily see the back of your head.
- Cape: A piece of old towel or a hair-cutting cape, as you avoid having hair on your skin and your clothes.
Sectioning the Hair
Thickness separation leads to balanced wings and layers in the last slicing.
- Step 1: Starting with freshly washed and dried hair would be preferable, and hair should be brushed well before the start of each activity. Slightly towards the center from the top of the head to the back of the neck.
- Step 2: Remove a one-to-two-inch border from an area around your head and draw a horseshoe section. Fasten the horseshoe with clips.
- Step 3: To wear the horseshoe section slide forward and lift it to put it well on your head, and clip it.
The perimeter hair left out from around the head will be cut first, to form the inside layers.
Check Out: Curly Butterfly Haircuts: The Playful Chic Look Women Managers differently.
Peeling the Interior Layers
- Step 1: Trim a small lock of hair from the edge section, it should not be thicker than the shears used. Place it about 6 inches away from your head and hold it between two fingers, steadier. Cut straight across if you want to reduce its size by an inch or two.
- Step 2: They should be repeated with another subsection directly beside the first one. It should be of similar length to the hair so that you cannot even see where the extension starts and where it ends.
- Step 3: Keep shaving the perimeter subsections till you have your head covered all around, leaving only the nape area untouched. Combine parts, with hair turning to be smooth as you trim the layers all around the head, while they become increasingly short beside the face and along the ears.
- Step 4: When all interior layers give a full circular perimeter, remove the top ‘U’ shaped part. That way it will drop and will be able to intermingle with the shorter inner layers.
The Butterfly’s Wings are clipped
Now it’s time to create the signature butterfly wings:
- Step 1: Pin all the hair on the straight backward to the shoulders to create a good blend of the layers. The hair behind one ear and extending diagonally down toward the nape cannot be more than the width of your shears.
- Step 2: IDs place shears vertically behind the ear, near the top of the head. Trim it perpendicular to shave several inches off, then reduce the depth of the section shaved as you reach the nape of the neck. This forms the upper wing contour, and Through this process, a span-wise curve is obtained.
- Step 3: Turn it over to cut the other form of the opposed diagonal wing section. Use visual means to ensure that both organizations are balanced, and their wings are of equal size.
- Step 4: For the lower wing shape, make two more diagonal partings starting behind each ear and spiriting downwards towards the nape. The angle is somewhat lower than from the upper parts of the wing sections. Make additional vertical cutting along the ear to the nape area in these parts.
- Step 5: Flatten wings by stroking hair to combine the thinner layers. Check balance and symmetry. Trim any uneven pieces.
Tapering the Nape
To give the butterfly wing shape the best appearance, taper hair shorter up toward the crown to maintain the sexiest nape.
- Step 1: Use clippers to blend the hair at the nape of the head and make it as short as possible. This should be done from one’s hairline and progress until the crown of the head.
- Step 2: You may also wish to shear it in from the nape to coordinate the tapered layers, to the longer layers at the top.
Finishing Touches
The finishing touches polish and detail the cut:
- Step 1: Use vertical point cutting to finish the texture ends of the front pieces around your face. This softens the ends.
- Step 2: For volume, add more citations by slicing tiny layers around a crown line on your head. If you want more coverage, leave pieces long in front.
- Step 3: Draw in the tails of the ears by opening at the bottom with a diagonal point cutting through the upper butterfly wings to blur that inner contour.
- Step 4: Such style can be preserved using hairspray if the hair is sprayed all over, particularly in the areas that want to be kept in this specific and finished position.
Conclusion
Taking the time to cut a DIY Butterfly Haircut yourself is slightly tedious, but much more effective and cost-saving than going to the salon. Work in sections slowly. Cut a slice that is in balanced symmetry on both sides. First, make sure that meat is combined well, and then slide layers against each other so they hug the face area and fall towards the angled nape. Take your time—and you’ll receive stunning DIY butterfly wings!
For More Info: Click Here.
FAQ’s About DIY Butterfly Haircut
Which hair type suits the DIY Butterfly Haircut best?
Due to this, various hair types and textures can be re-designed to have the butterfly shape when it has been layered. Being able to tease the hair and provide more volume on the crown area, it is perfect for fine, straight hair.
Should I relax my hair before chopping it myself?
Yes. Cut the layered angles on hair that are dry, smooth, and straight so that you can make the cleanest cuts.
Is there any way that I can adjust the winging angle or the wings’ size for my face shape?
Of course, to suit your personal facial structure and hair density, change the angle, layering, and length of the butterfly wings. Adapt things as needed.
How frequently will I be required to cut my DIY Butterfly Haircut?
The perimeter layers should be trimmed every 6–8 weeks because they are the ones that rest on the face, signaling growth. The interior layers and wings require trimming every 10–12 weeks at most.